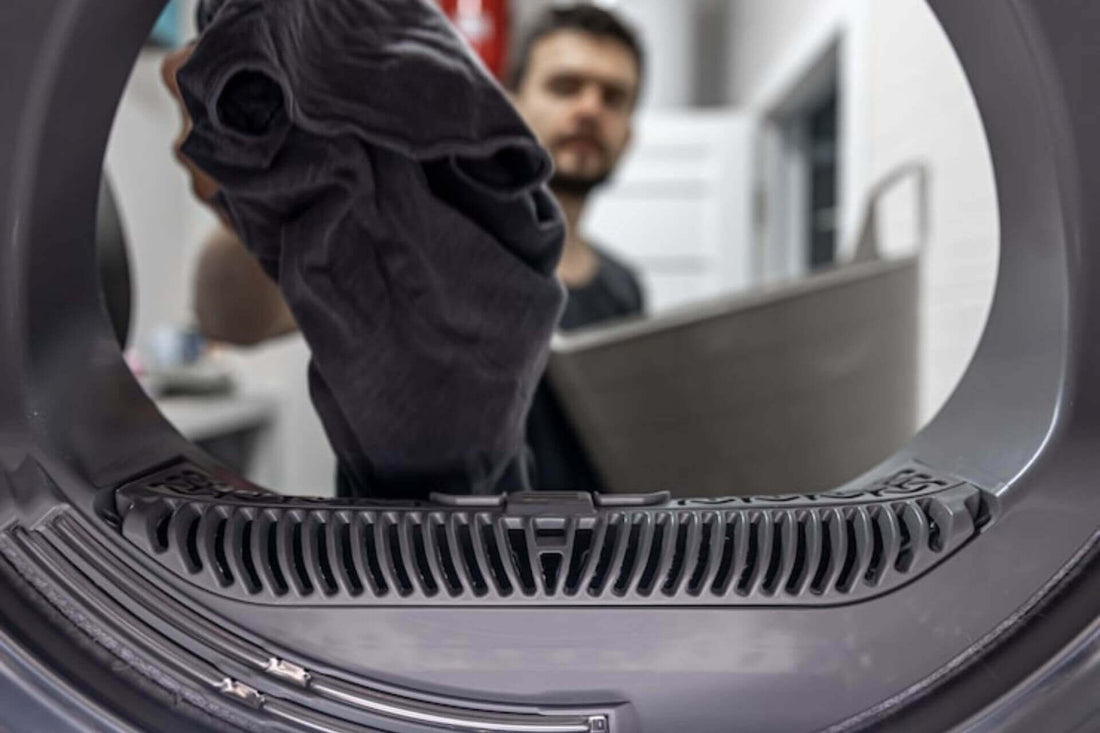
How to Deep Clean Your Dryer Vent for a Safer Home?
Share
Did you know a clogged dryer vent causes thousands of house fires every year? According to the U.S. Fire Administration, nearly 3,000 home fires are reported each year due to clothes dryers—and failure to clean the dryer is the leading cause.
Keeping your dryer vent clean isn't just about efficiency—it's about safety.
This guide walks you through the essential steps to deep clean your dryer vent using simple tools like a dryer vent brush, a dryer cleaning kit, and a vacuum attachment. Let’s get started.
Why Deep Clean Your Dryer Vent?
Over time, lint, dust, and debris build up in your dryer vent system. Even if you clean the lint trap regularly, particles still escape into the vent.
Here’s what a clogged vent can lead to:
- Fire hazards: Lint is highly flammable.
- Reduced efficiency: Your dryer runs longer and uses more energy.
- Shortened appliance life: Overworked dryers wear out faster.
- Increased costs: Higher utility bills and potential repair fees.
If your clothes take longer to dry or your laundry room feels unusually warm, it's time to clean your vent.
What You’ll Need
To deep clean effectively, prepare the following tools:
- Dryer vent brush – flexible and long, ideal for reaching deep inside the duct.
- Dryer vent cleaner kit – usually includes multiple attachments, extenders, or drill-powered brushes.
- Vacuum attachment for dryer vent – helps remove loose lint from hard-to-reach places.
- Screwdriver or wrench – for detaching the vent hose if needed.
Choose tools that are compatible with your dryer model and vent type.
Step-by-Step: How to Deep Clean Your Dryer Vent
Step 1: Unplug the dryer
Safety first. Disconnect your dryer from the power outlet. If it’s a gas dryer, shut off the gas valve as well.
Step 2: Detach the vent hose
Pull the dryer away from the wall. Unscrew the vent clamp and gently remove the hose. Inspect it for heavy lint buildup.
Step 3: Use a dryer vent brush
Insert the brush into the duct and rotate it as you push inward. Gently pull it back out and shake off the lint. Repeat a few times to remove debris thoroughly.
Step 4: Vacuum the vent
Use a slim vacuum attachment to suck out loosened lint from both ends—inside the vent and outside where it exits your home.
Step 5: Clean the hose and reconnect
Shake out the hose or run the brush through it if flexible. Once clean, reattach everything securely and push the dryer back into place.
Step 6: Test the dryer
Plug the dryer back in and run it on a short cycle to ensure airflow is restored.
When to Call a Professional?
If you notice:
- Persistent lint buildup even after cleaning
- Crushed or damaged vent ducts
- Inaccessible wall or roof vents
…it may be time to bring in a certified dryer vent technician.
General rule: Deep clean your dryer vent at least once a year—more often if you use your dryer daily or have a long duct run.
Simple Tips for Ongoing Maintenance
- Clean the lint trap after every load.
- Avoid plastic or foil ducting—opt for rigid or semi-rigid metal ducts.
- Ensure the outdoor vent flap opens freely.
- Keep the area behind the dryer dust-free.
These small steps help extend the life of your dryer and reduce risks.
Final Thoughts
A clean dryer vent saves time, energy, and—most importantly—keeps your home safe. With the right tools and a bit of time, deep cleaning is a task any homeowner can handle.
Explore Sealegend’s full range of dryer vent cleaner kits and vacuum attachments designed to make the job easier and more effective.
