Step-by-Step Guide: Using a Dryer Lint Vacuum Attachment for Easy Cleaning
Share
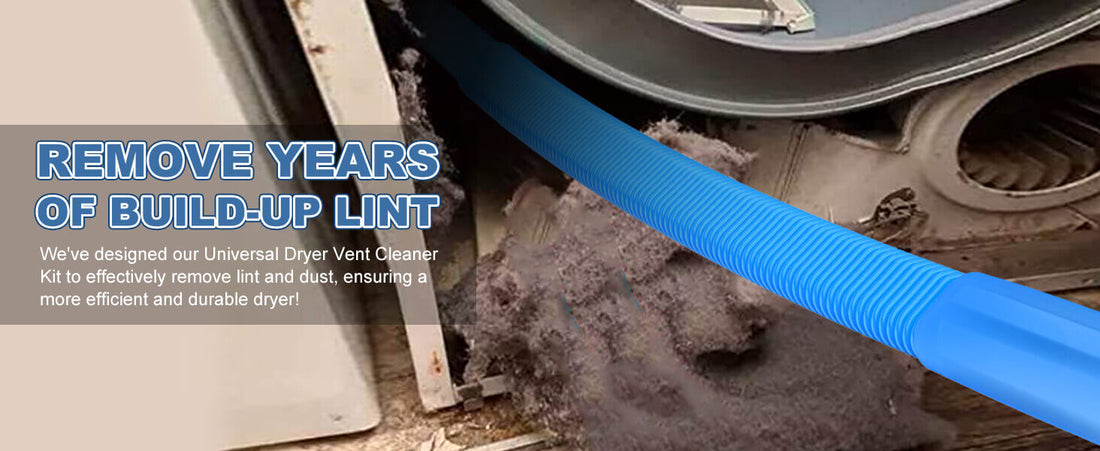
Dryer vents are notorious for collecting lint in hard-to-reach areas. While brushes are helpful, they don’t always remove all the fine particles trapped deep inside the vent. That’s where a dryer lint vacuum attachment comes in.
In this guide, you’ll learn how to use this simple yet powerful tool to clean your dryer vent more effectively, improve airflow, and reduce fire risks—all with minimal effort.
Why Use a Dryer Lint Vacuum Attachment?
A vacuum attachment is designed to go where standard vacuum hoses can’t. These slim, flexible tools:
- Reach deep into vent hoses and behind the dryer
- Extract fine lint and debris that brushes may miss
- Improve suction and cleaning power without damaging the vent
- Make the job faster, cleaner, and easier
Whether you’re doing a seasonal deep clean or regular upkeep, a vacuum attachment enhances the results.
What You'll Need?
Before you start, gather these items:
- A compatible vacuum cleaner (corded or cordless)
- A dryer vent vacuum attachment (flexible, narrow, ideally with adapter heads)
- A screwdriver or wrench to detach the vent hose if necessary
- Optional: dryer lint brush for pre-cleaning
Pro tip: Sealegend’s attachments fit most standard vacuum models and include extension tools for deep cleaning.

Step-by-Step Cleaning Instructions
Step 1: Unplug your dryer
Safety first. Always disconnect the power before starting.
Step 2: Move the dryer away from the wall
Create enough space to access the rear vent.
Step 3: Attach the vacuum attachment
Connect the tool to your vacuum hose. If needed, use the provided adapter or extension nozzle.
Step 4: Insert into the lint trap opening
Insert the attachment as far as it will go, then turn on the vacuum. Move the tool slowly to collect built-up lint.
Step 5: Clean behind and under the dryer
Use the same tool to vacuum dust and lint around the floor, hose connections, and surrounding areas.
Step 6: Optional — remove the vent hose
For a full clean, disconnect the vent hose and insert the vacuum tool into both ends of the duct.
Step 7: Reassemble and test
Reconnect the hose, plug in the dryer, and run a short cycle to test airflow.
When to Use vs. When to Brush
- Vacuum attachments: Great for regular cleanups, fine dust, and tight corners.
- Brushes: Better for breaking up heavy lint buildup in long ducts.
- Best practice: Use both tools together for a full deep clean.
Benefits of Regular Vacuum Cleaning
- Prevents overheating and fire hazards
- Helps your dryer run faster and smoother
- Lowers energy use and utility bills
- Extends the life of your appliance
Make it a habit every few months—or more frequently for large households or pet owners.
Why Choose Sealegend's Vacuum Attachments?
- Universal fit for most vacuum models
- Slim, flexible design reaches deep spaces
- Durable, heat-resistant materials
- Easy to assemble and use
- Part of a complete dryer cleaning kit
Thousands of homeowners trust Sealegend for safer, more effective dryer maintenance.
Conclusion
Cleaning your dryer vent doesn’t have to be a hassle. With a dryer lint vacuum attachment, you can keep your appliance safe and efficient—without the mess.
Explore Sealegend’s cleaning tools today and make dryer maintenance easy, fast, and reliable.
